

How To Repair A Hole In A Hose
How to Repair a Garden Hose
Fix leaky garden hoses chop-chop and cheaply.
Every editorial product is independently selected, though we may be compensated or receive an affiliate commission if you buy something through our links. Ratings and prices are accurate and items are in stock every bit of fourth dimension of publication.
![]() Fourth dimension
Fourth dimension
An hour or less
![]() Complexity
Complexity
Beginner
![]() Cost
Cost
$5–10
Introduction
At that place is nothing more frustrating than a leaky garden hose. Half your h2o goes downwards the tempest drain or onto your shoes and non on your lawn. It doesn't have to be that style. Read on to larn some quick, inexpensive and easy garden hose fixes.
Tools Required
Materials Required
- Garden hose repair couplings
Project stride-by-step (5)
Step 1
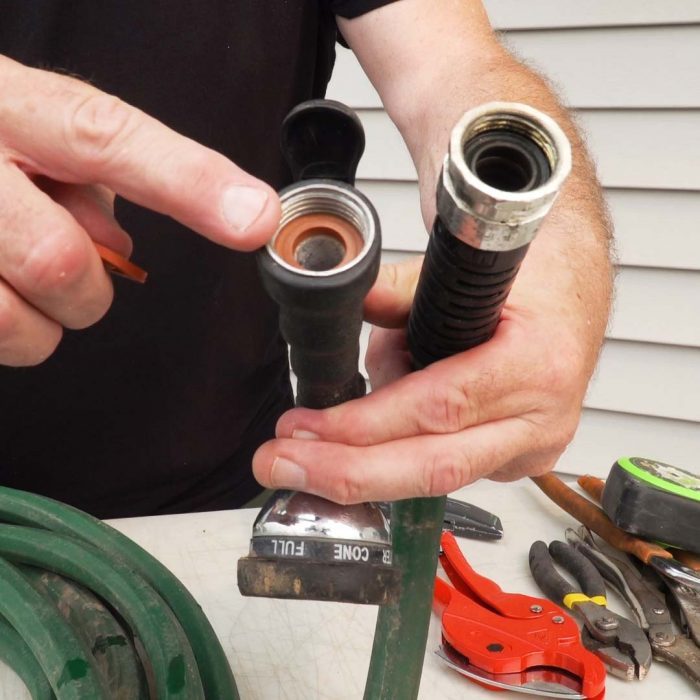
Where is the Leak?
- If water is leaking from either finish of the hose, such every bit at the faucet or spray attachment, the prepare could be as simple equally replacing the safety washers in the female end of the hose and or spray attachment.
- If a leak is within a pes of the male or female connectors, cut off the end of the hose and replace the connector.
- If the leak is in the middle of the hose, cutting out the damaged section and splice the hose back together with a repair coupling.
Footstep 2
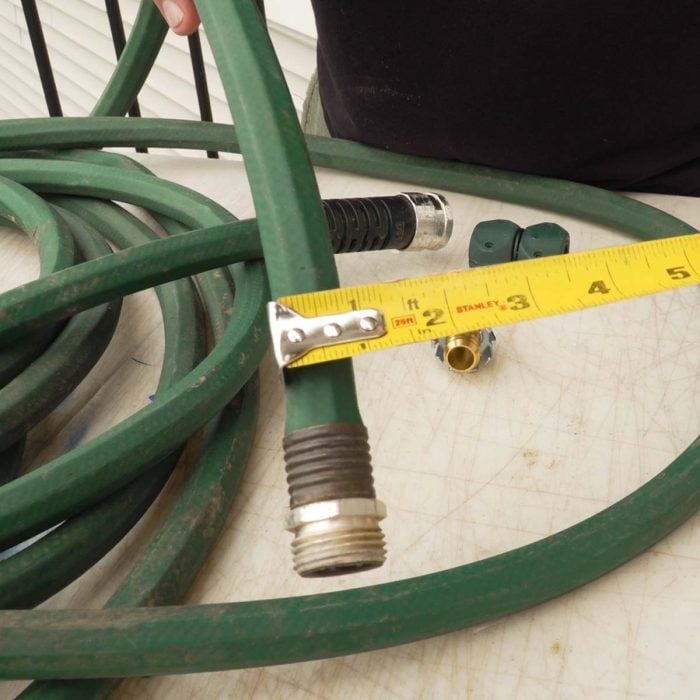
Mensurate
- Before heading to the hardware store for repair parts, measure what size garden hose you have. The iii common sizes of garden hose are ane/two-, 5/8-, and three/four-inch. That is the ID (within diameter) of the hose.
- The OD (exterior diameter) is typically 1/viii-inch larger than the ID. So a 5/viii-inch hose has a 3/4-inch OD.
![]()
Stride 4
Four Piece of cake Repairs
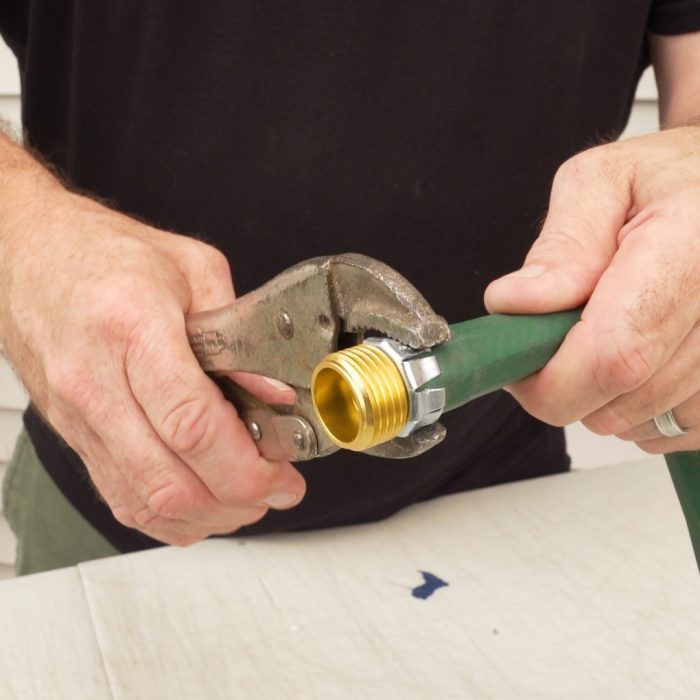
Clamp Hose Menders
- Replace the ends or splice the middle of a hose with clinch hose menders. Once you lot take the harm section cut off the hose, stick the barbed end of the repair plumbing fixtures into the hose. Bend the tangs downwards and into the hose, squeezing it evenly with a pair of pliers, channel locks or vice grips.
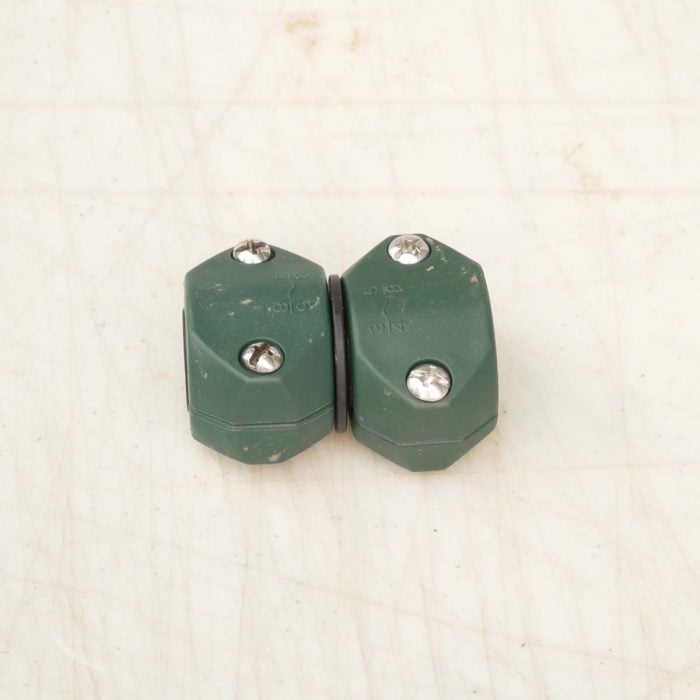
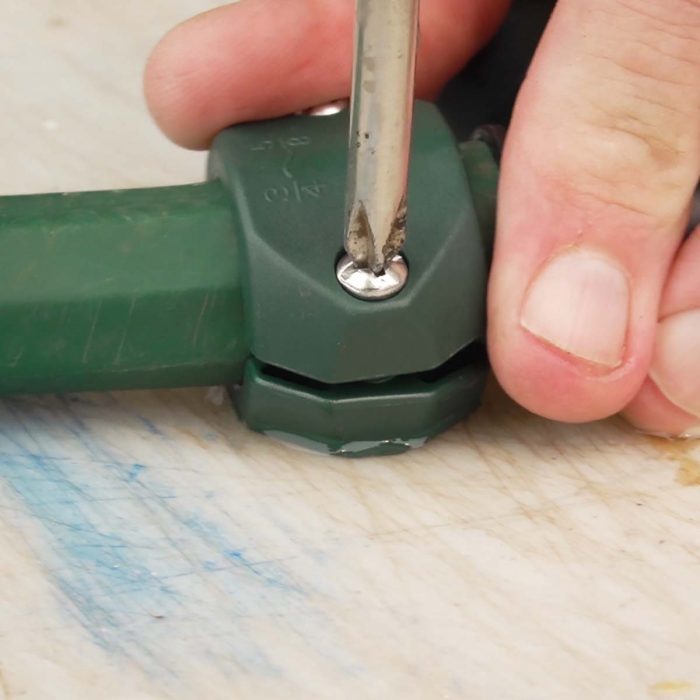
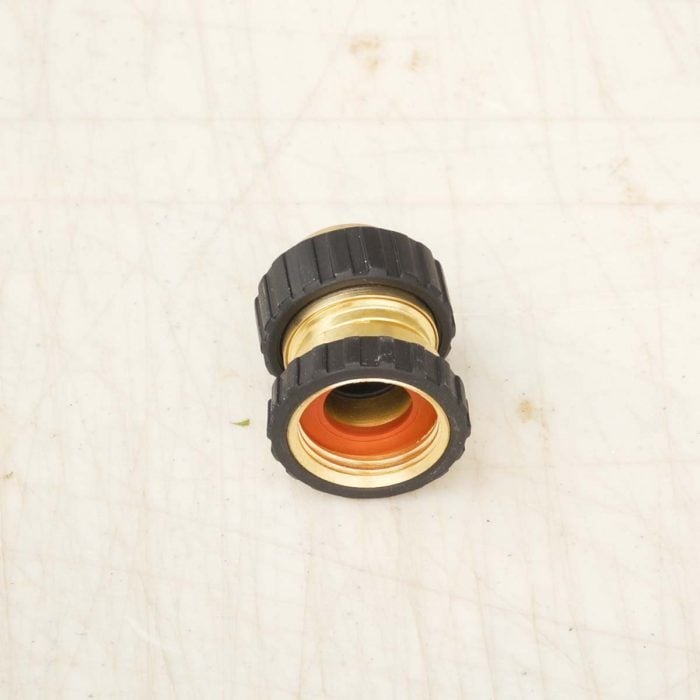
Clench Couplers
- Clench couplers for ends and splicing hoses are another easy hose gear up.
- Remove the screws and cover from the coupler.
- Stick the barbed stop into the hose.
- Replace the embrace and tighten the screws.
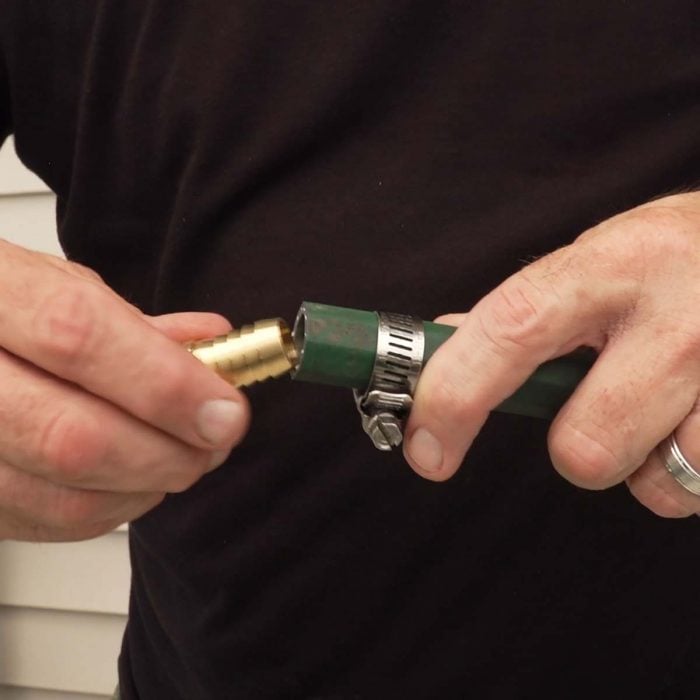
Hose Clamps
- Hose clamps and a three-inch piece of 1/two-inch copper tubing piece of work well for a splice repair.
- Slip a hose clamp over the end of the cut hose.
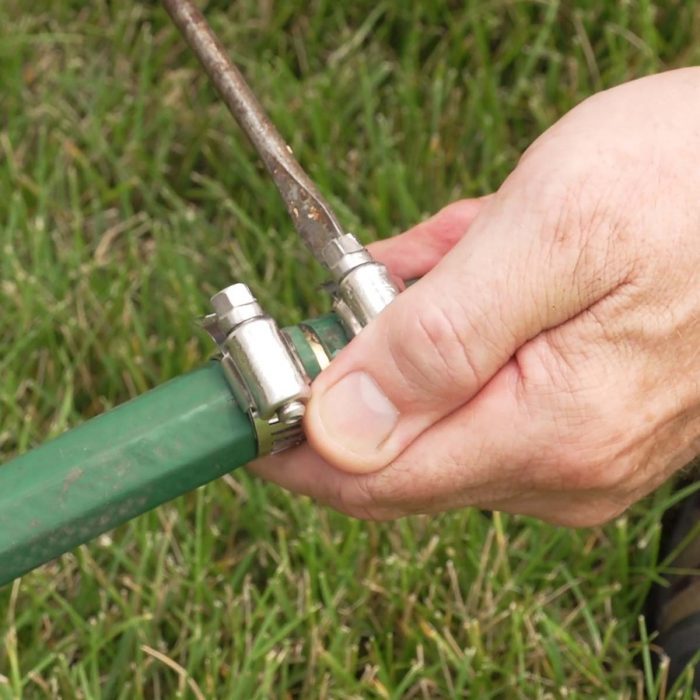
- Insert the 1/two-inch piece of copper tubing into the hose, letting 1-1/2 inches stick out. Now, tighten the hose clamp with a screwdriver.
- Slip another hose clamp over the stop of the other piece of cut hose. Insert the one/2-inch slice of copper tubing and tighten the clamp with a screwdriver.
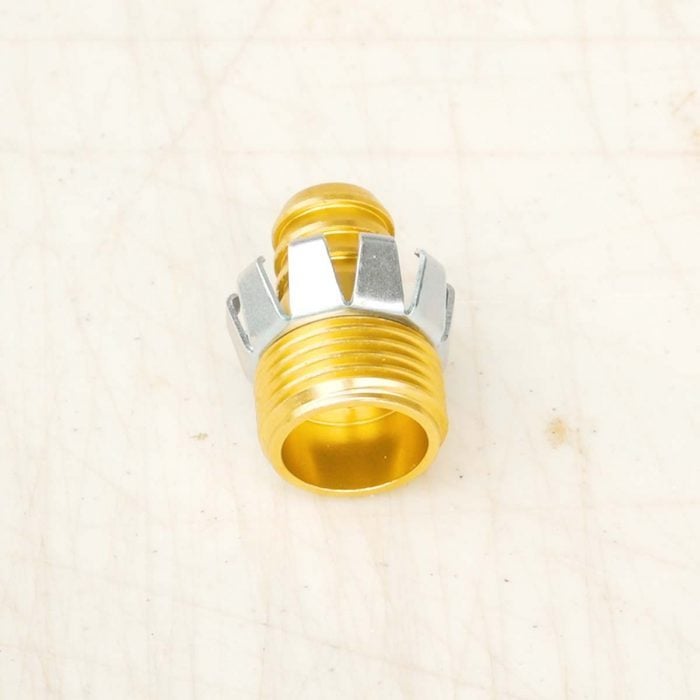
Compression Mender
- Pinch mender probably is the easiest garden hose prepare.
- Unscrew and split the collar from the repair fitting.
- Sideslip the collar over the hose.
- Push button the repair plumbing equipment onto the hose, then screw and tighten the collar to the repair fitting.
Step 5
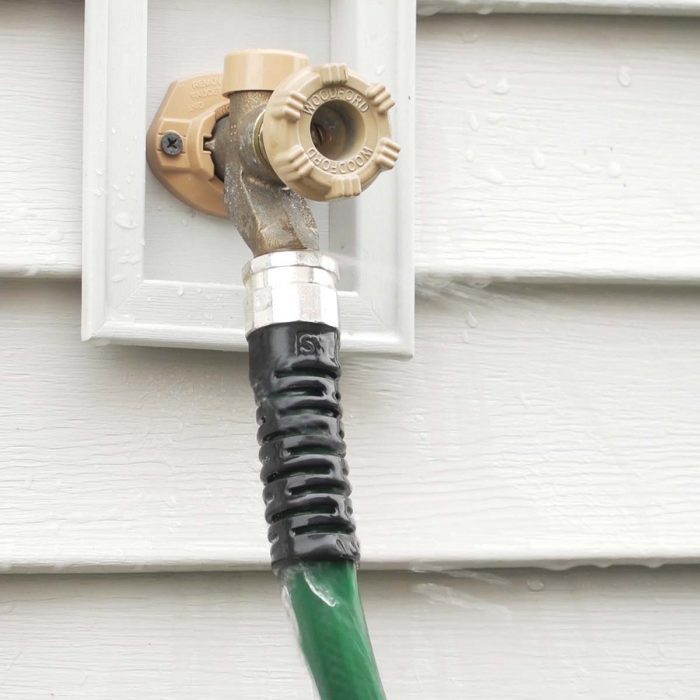
Exam for Leaks
- Connect the hose to the faucet and turn it on, checking for leaks.
- If a repair leaks, try tightening the screws or collar on the fitting.
Originally Published: Baronial 06, 2022

Source: https://www.familyhandyman.com/project/how-to-repair-a-garden-hose/
Posted by: kinmanbobbled.blogspot.com
0 Response to "How To Repair A Hole In A Hose"
Post a Comment