

How To Repair Broken Animal Figurines
| | |
|
How to Repair Broken Stone Sculpture or Statue |

 |
| |
| |
| |
| |
| |
| |
| |
| |
| |
| |
| |
| |
| |
 |
 |
| |


#lakesidepottery
Ceramic & Sculpture Repair Lessons
(click pictures)
 Cementing only lesson |
 Chipped pottery repair lesson |
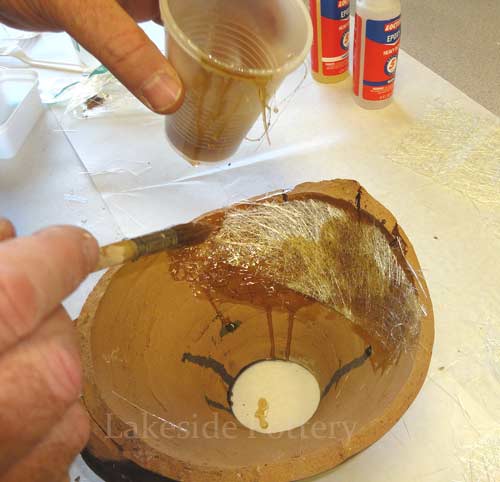
 Complete ceramic repair lesson |
 Restore vase lesson |
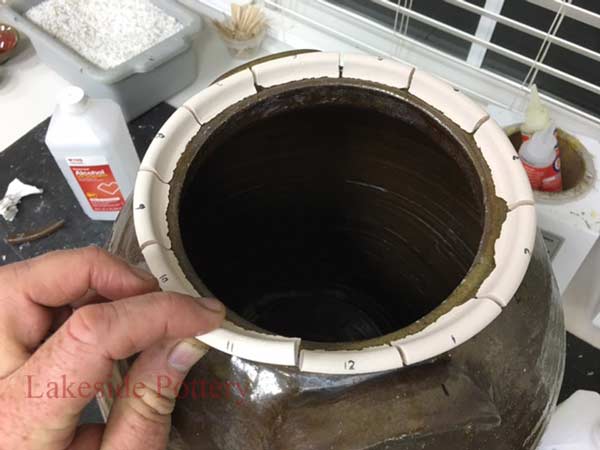 How to supercede Stoneware crock'south rim How to supercede Stoneware crock'south rim |
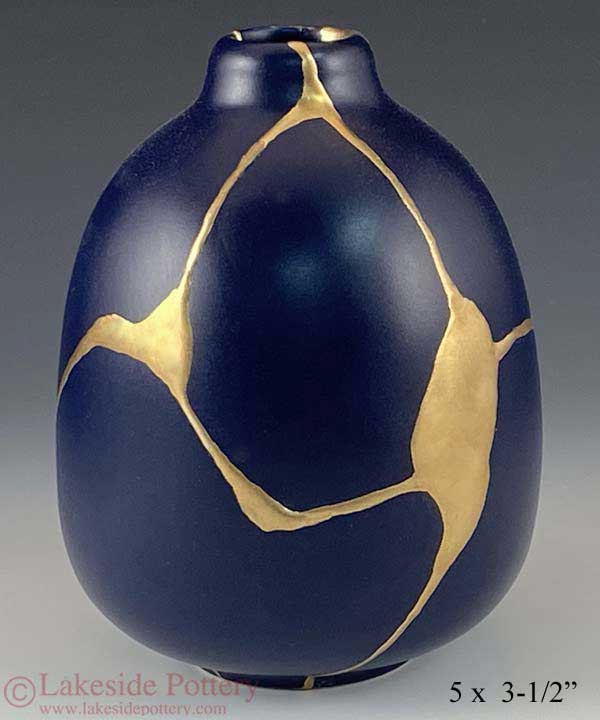 Kintsugi - mending with gold |
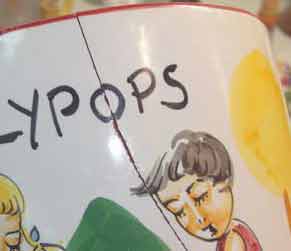 How to set ceramic crack |
 Restore basin lesson westward/ missing pieces |
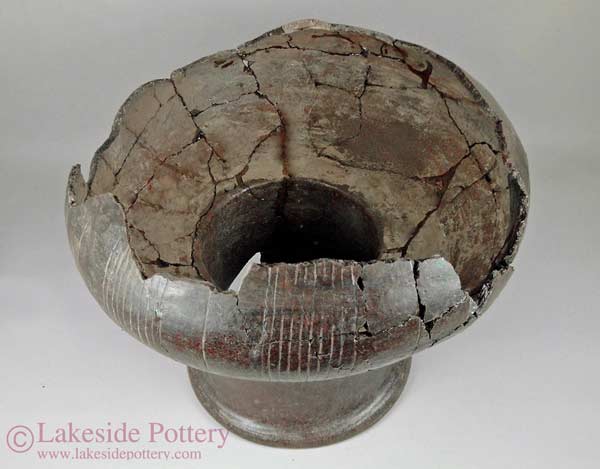 Restoring ancient pottery steps |
 Sculpting missing pieces - Lladro |
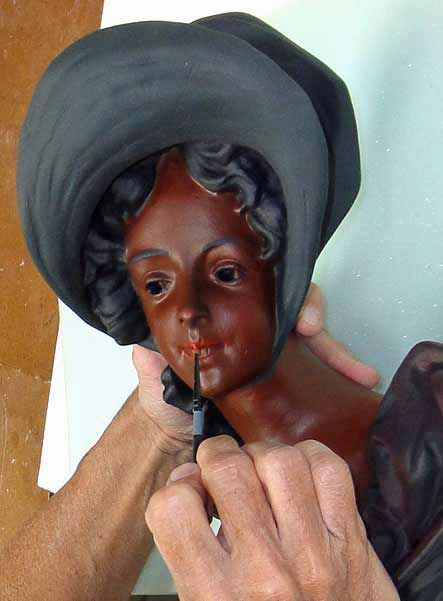
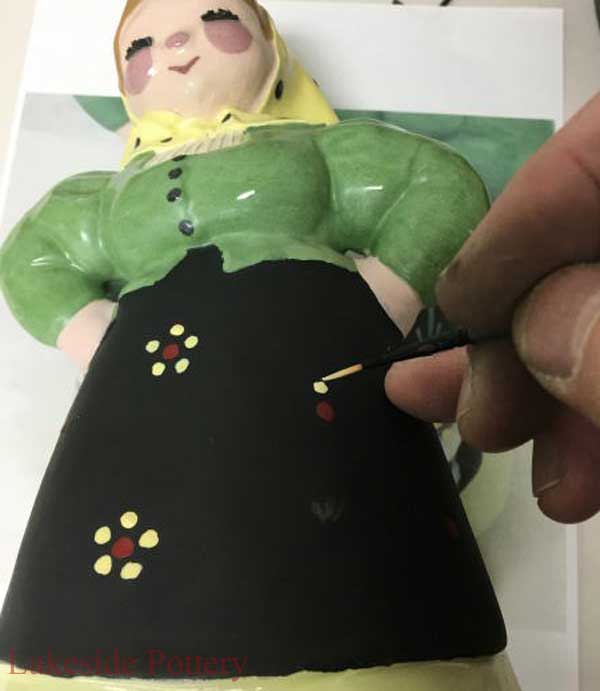
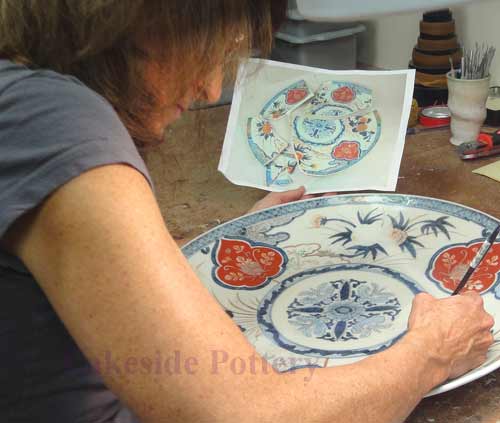 Painting pottery after repair |
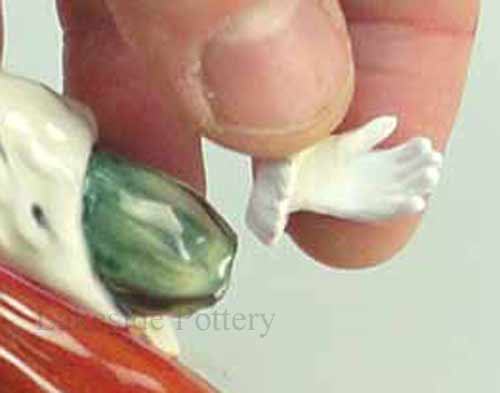
 Miniature repair westward/ missing finger |
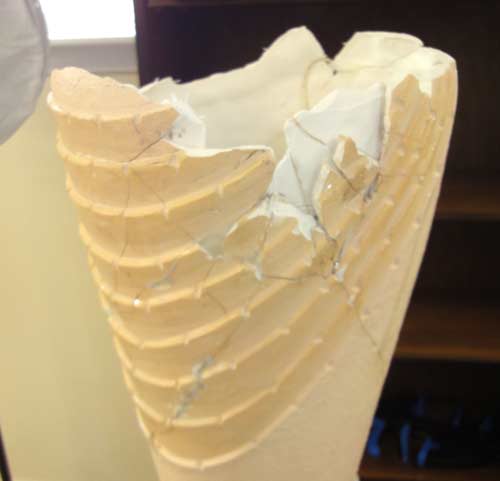
 Making missing part w/ fired clay |
 Repairing broken rock sculpture |
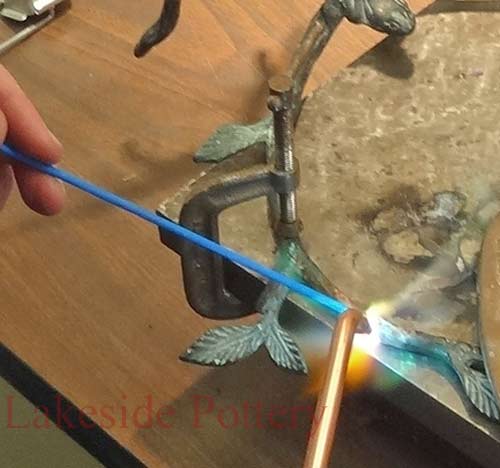 Bronze sculpture repair |
 Restoring stone sculpture / statue |
 Plaster effigy / statue reapir |
 Plaster lamp repair w/ missing parts |
 Heavily damaged ceramic figurine repair |
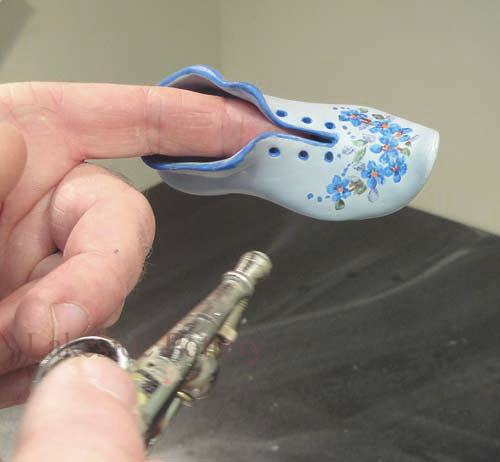 Miniature Porcelain |
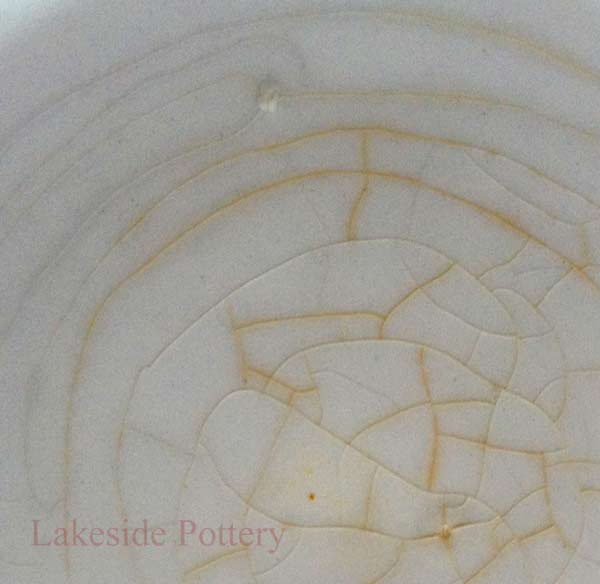 Removing stains |
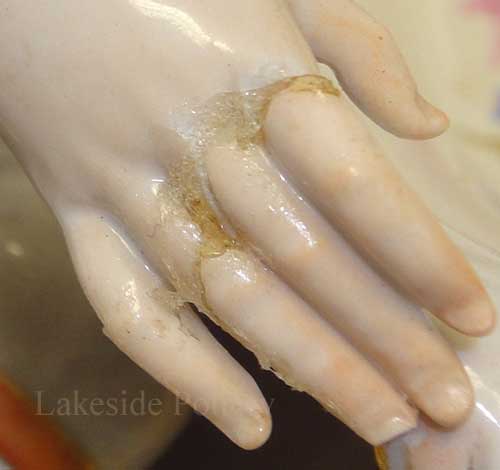 Removing old glue |
| More Lessons |
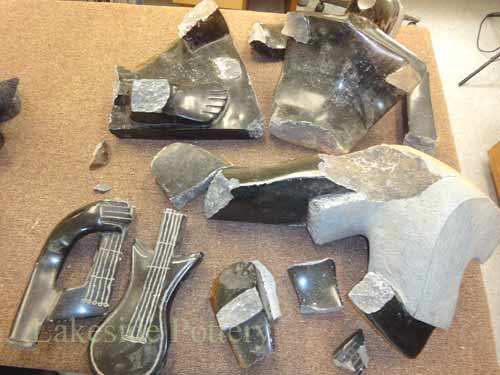
Repairing a Stone Sculpture | Detached Head and Missing Fragments
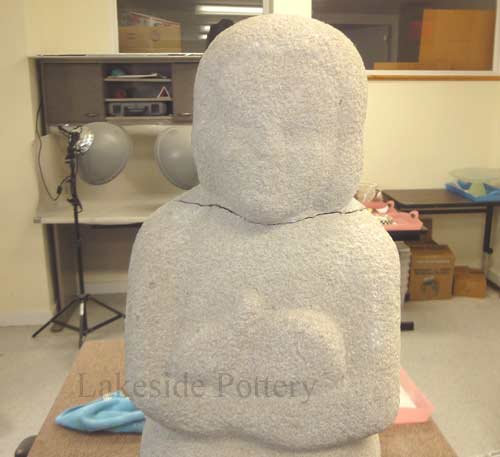
This tutorial / illustration was put together equally an case showing how Lakeside Pottery generally repairs and restores stone sculptures. The key elements are: Choosing the right pins for strength, drilling accurately on both sides of the intermission lines, using the right bonding adhesive, using the right filler adhesives, hiding the repair lines and preserving the repair areas. In this instance, the sculpture head broke off and was glued back on with the wrong agglutinative. The one-time adhesive was hard to remove and increased the repair cost. The main issue with this repair was the break line was not clean and many fragments were missing . So even if it was aligned perfectly, the interruption line would exist very visible and therefore had to be filled. Once filled, the complex sculpture surface texture was required to exist duplicated to hide the filler.
Tools used: Drill, carbide tipped drill bit, pencil, brush, paper, scissors, vice, hacksaw with metal cutting blade, putty knife, metal brush, air compressor, torch, Dremel, diamond bits, airbrush, brushes, pivot tool.
Materials used: Rock dust (drilled from sculpture), Elmers mucilage, stainless steel threaded rod, high strength ii-part bonding epoxy, 2-part filler white epoxy mixed with stone grit, acrylic paints, matt protective clear coating.
Stride-by-Step Illustrations:
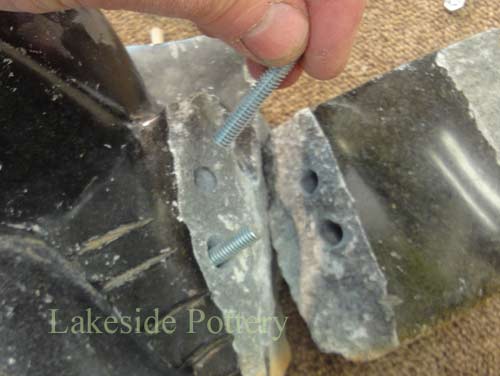
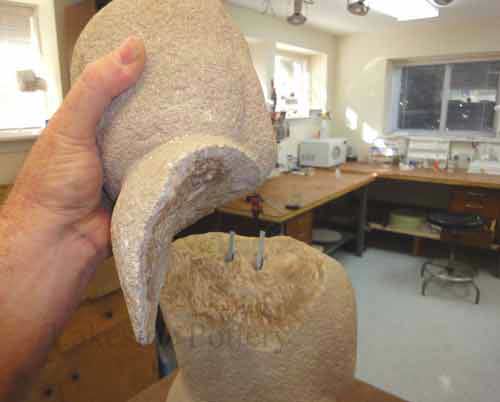
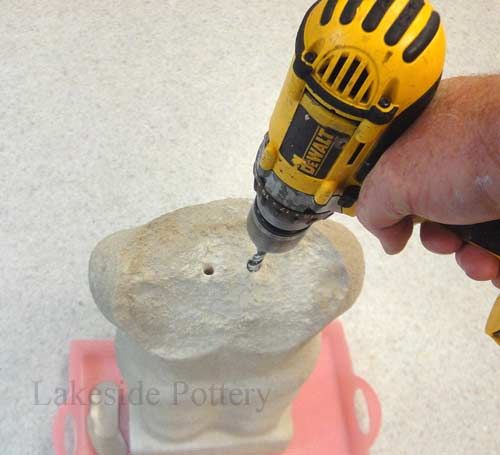
| The option of drilling location needs to be in the center of stone mass on both parts, the head and the body. The drilled rock dust is saved for later to be used to make full in the large gaps betwixt the two parts one time cemented. | |
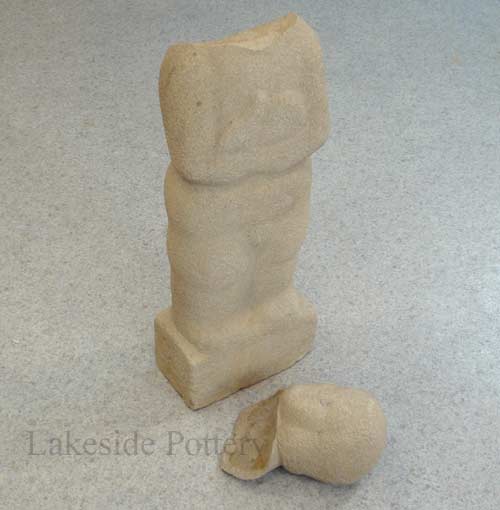 Broken stone sculpture - about lxx lbs | |
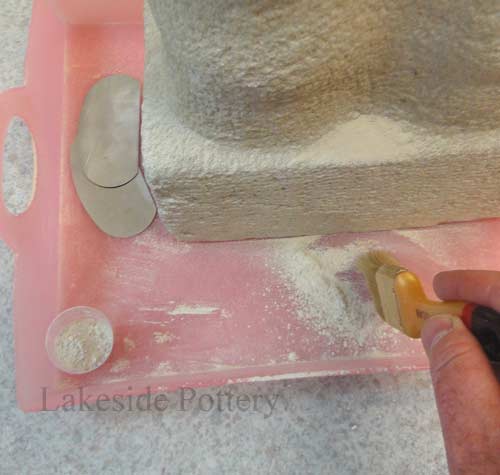 Collect the drilled dust for subsequently use | 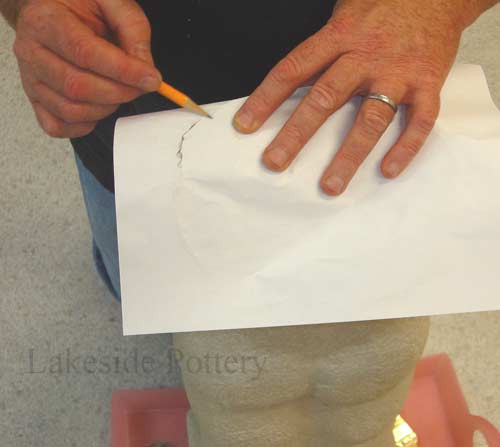 Mark outline of suspension area |
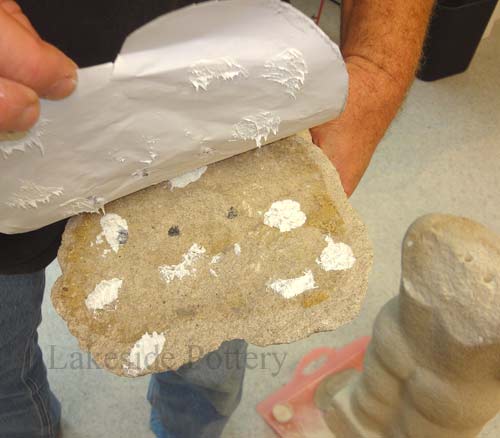
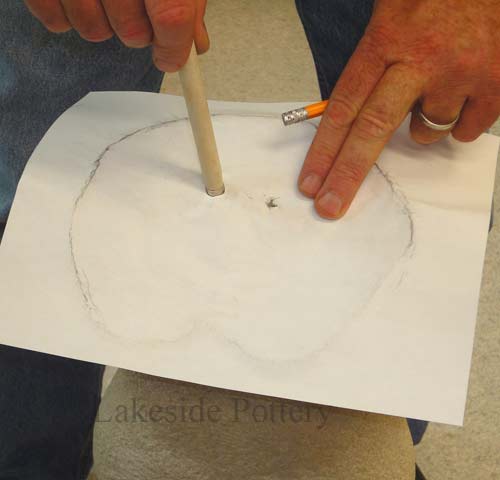 Mark the pigsty location on paper | 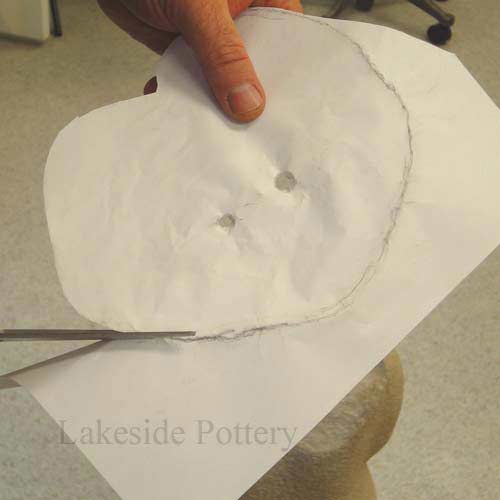 Cutting newspaper |
| In one case you have drilled the holes on one side of the work, how exercise you match the holes in the other side? Identify a paper over the drilled surface, mucilage it down with water soluble gum (tape did non work in this example - it did non adhere to the soft rock surfaces) and outline the hole and the edges of the stone. Then, poke holes through the paper marking drilled holes. Follow the steps below and mark the exact hole location on the other portion of the sculpture (head) for authentic alignment location transfer. | |
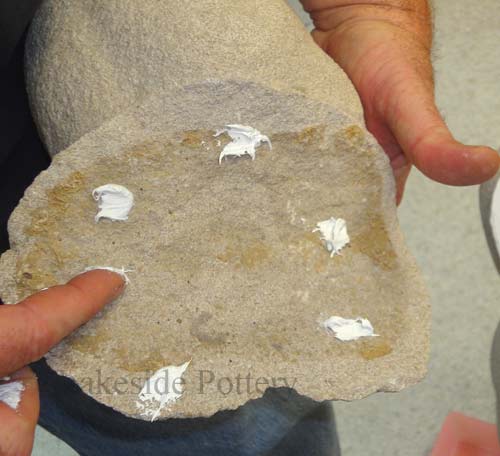 Place Elmers mucilage on the head side | 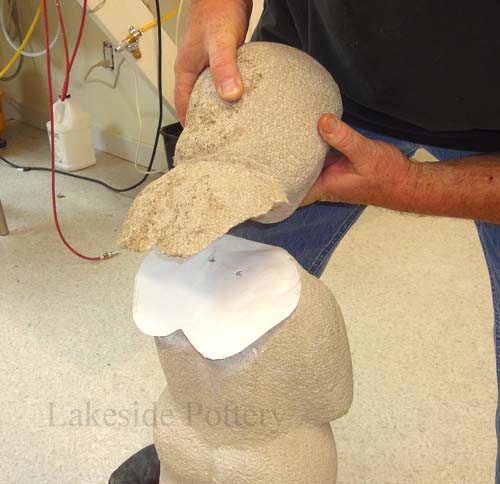 Identify head on newspaper |
 Make sure newspaper does not movement | 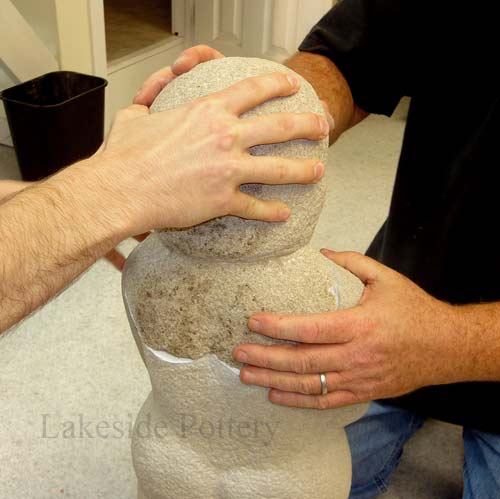 Align perfectly |
 Paper glued to the un-drilled part | 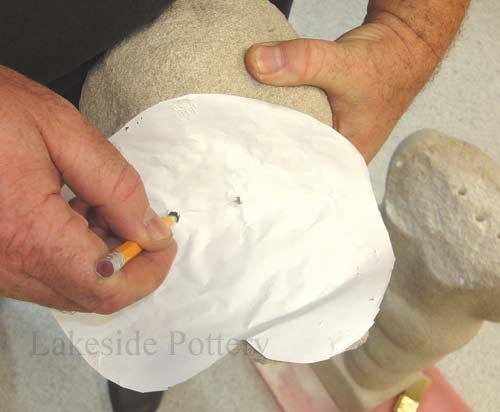 Mark location for the holes |
| Note that the epoxy, once cured, is much harder than the rock in this example and therefore drilling the holes wider will not be a problem and will ease the fit requiring less accurate holes alignment. Remove grit from holes, remove former cement and clean surfaces well. | |
 Verify mark and drill the holes | 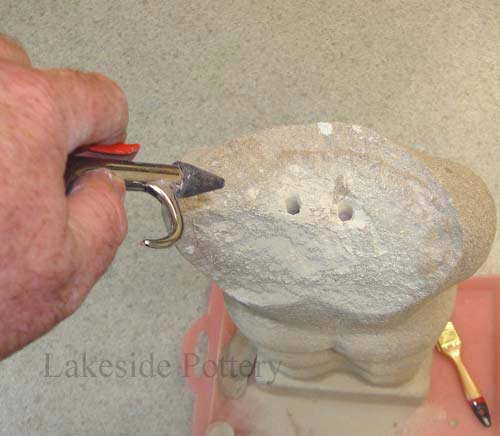 Make clean dust with air pressure |
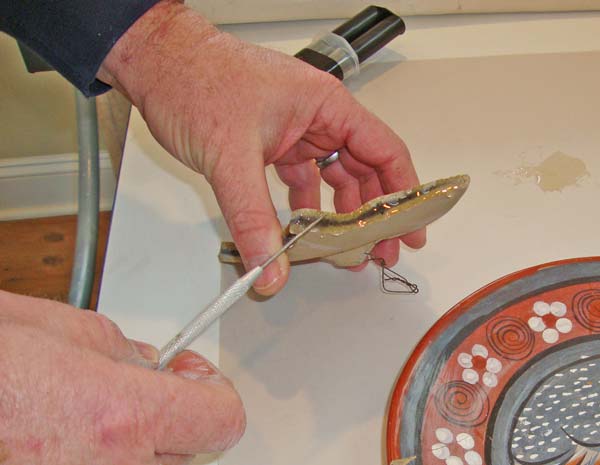
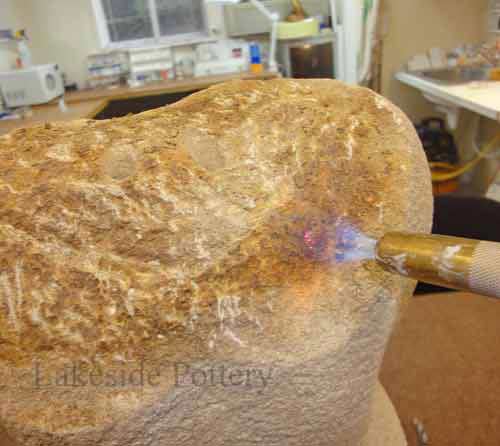 Clear quondam adhesive (in this instance torch) | 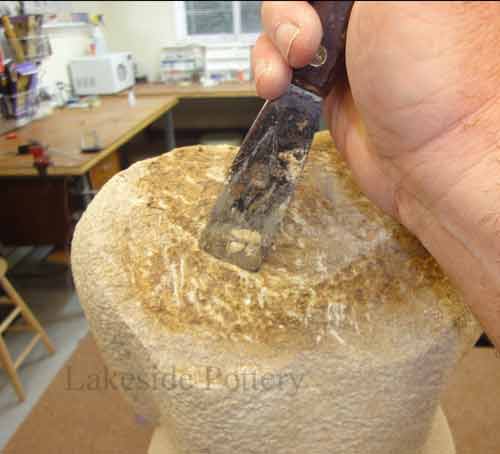 Scrape |
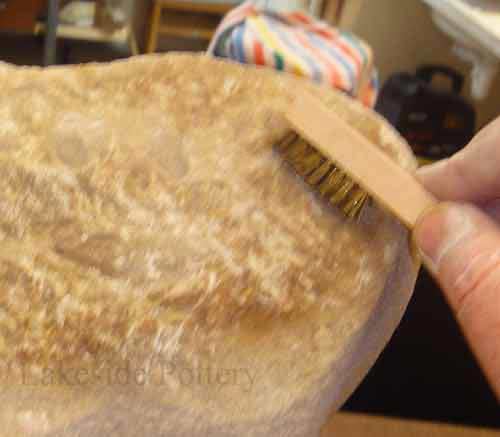 Brush | 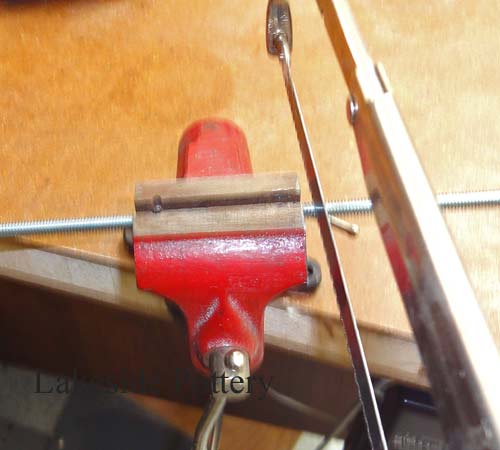 Cutting metallic threaded pins to size |
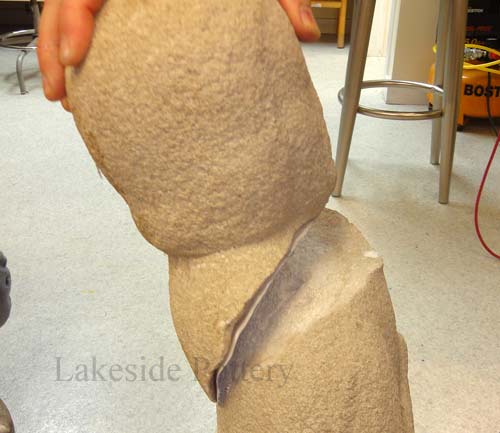
| Cut rod to size (in this instance almost 4-1/2"). Place in holes and verify alignment | |
| Place pins and verify fit | 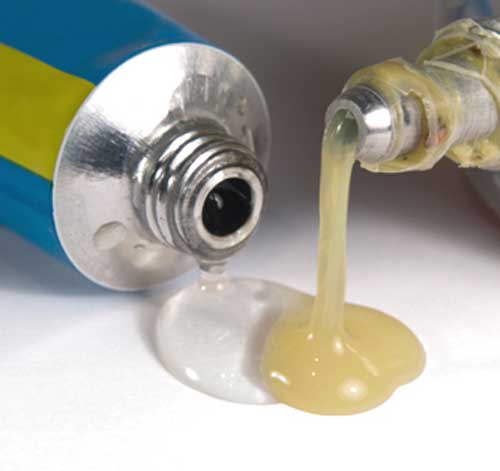 Mix Clear epoxy |
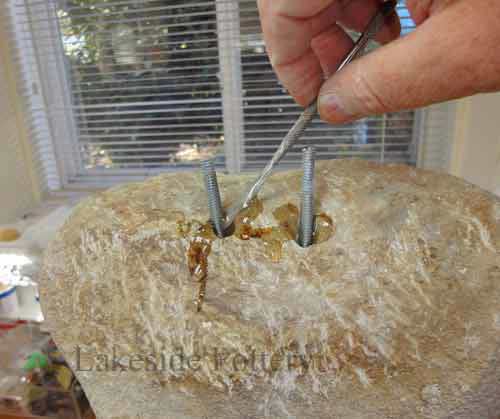 ii-parts epoxy in holes and surface | |
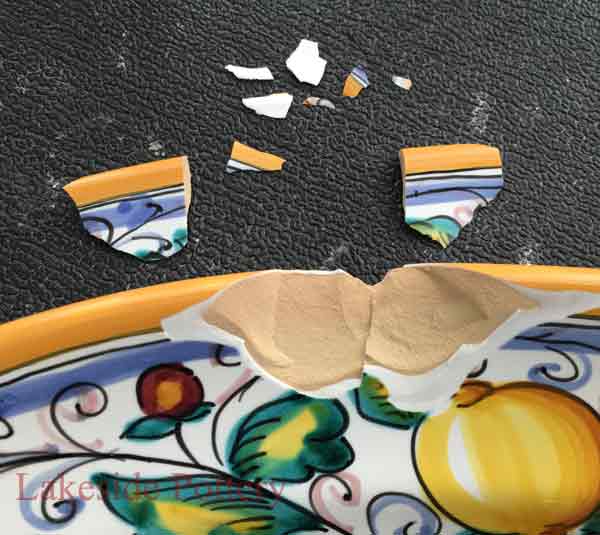
| Mix enough epoxy to make full holes in bottom and top and cover the surface. If using 5-minutes epoxy, brand sure you are all prepared and peradventure have an assistant. The 5-minutes epoxy starts to set after ii-3 minutes. Once clear epoxy is cured, mix the filler epoxy with the stone dust you lot have saved (about 30% grit and seventy% epoxy) and make full all the gaps. In this case, nosotros used the PC-11 slow cure filler epoxy. Wait 24 hours before handling. | |
 West ait 8 hrs or more for epoxy to cure | 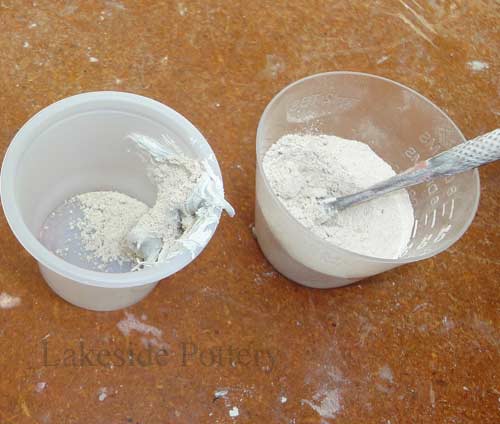 Mix the drilled dust with white epoxy |
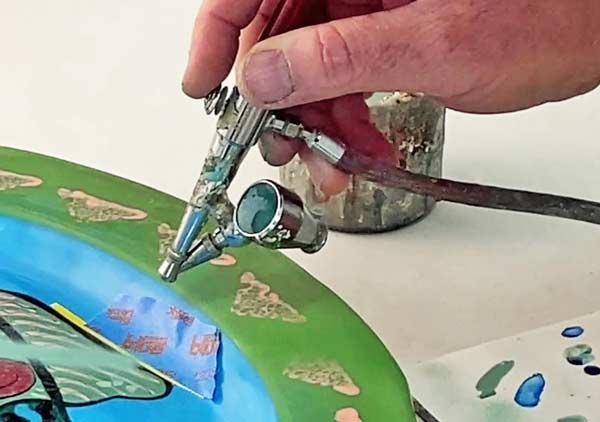
| Grind, drill, poke, and scratch surface to duplicate the rest of the sculpture surface texture | |
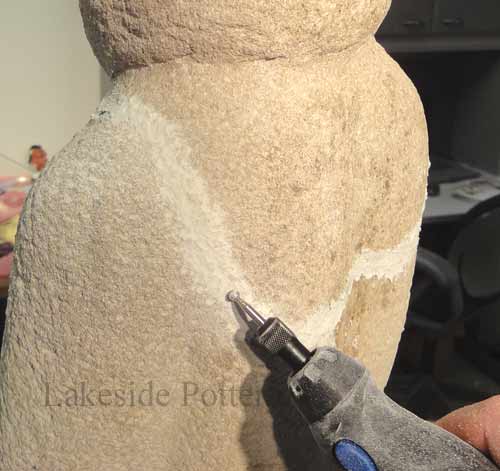 Using Dremel diamond bit for texture | 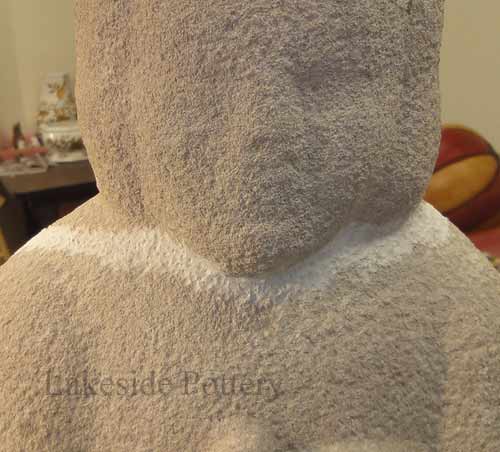 Texture phase 1 |
 Texture accomplished - close upwardly | 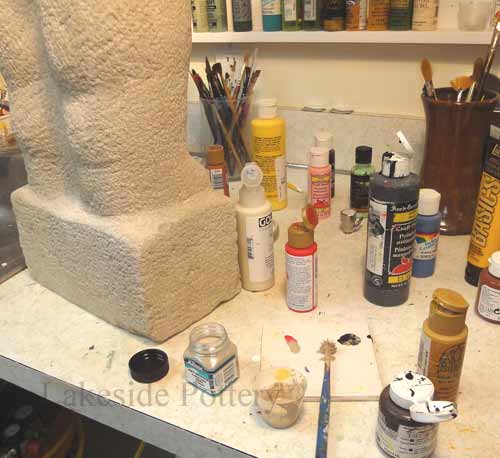 Match color and mix with sands More than about painting repair lines |
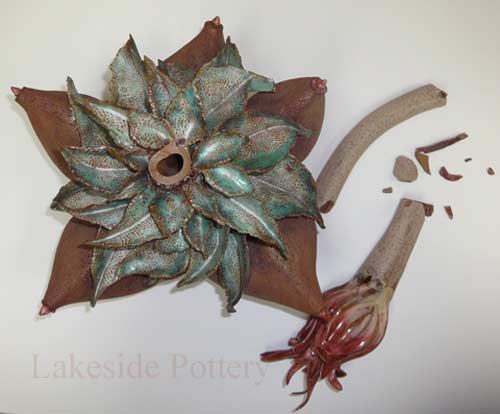
| Pictured below are before and later on results of a similar process. | |
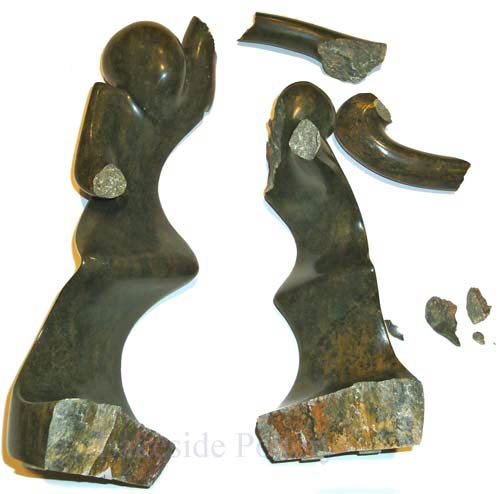 Broken Shona lather rock sculpture | 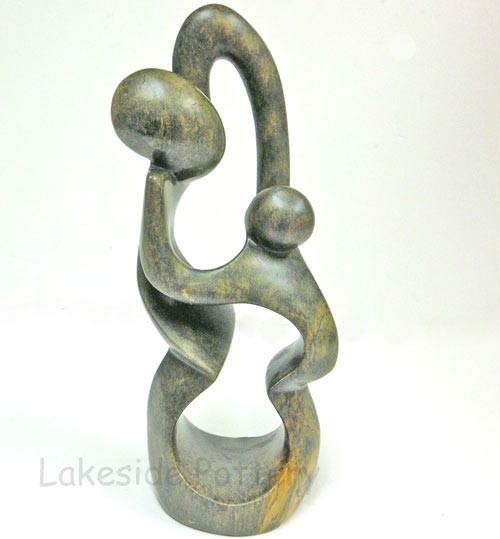 Zimbabwe sculpture repaired |
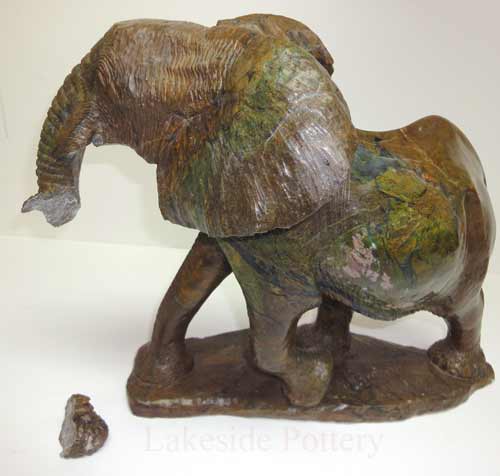 Verdite stone elephant cleaved | 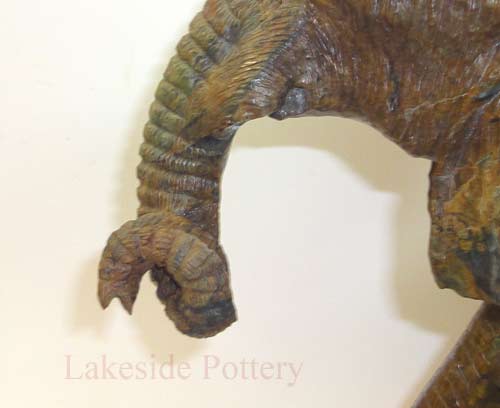 Verdite rock sculpture restored |
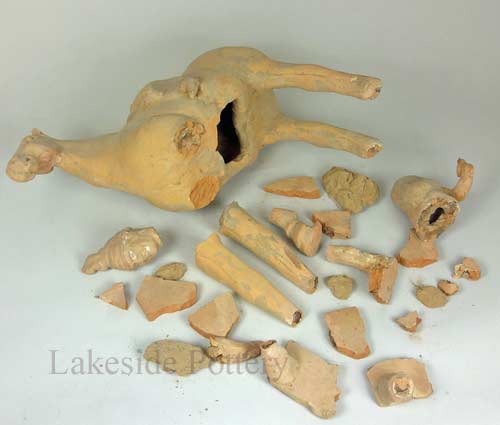 Cleaved Chinese horse sculpture | 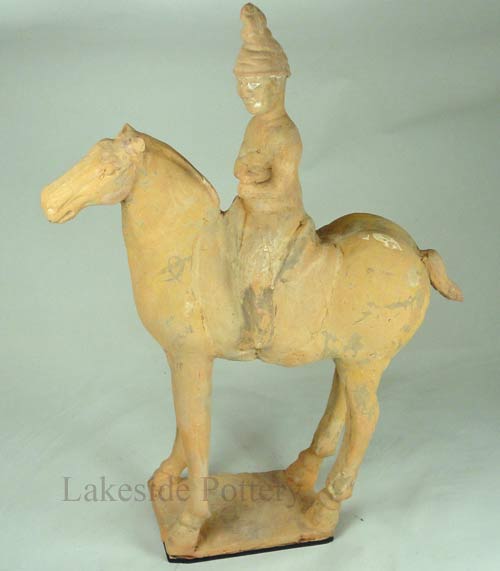 Chinese horse sculpture repaired |
 Large stone sculpture before repair | 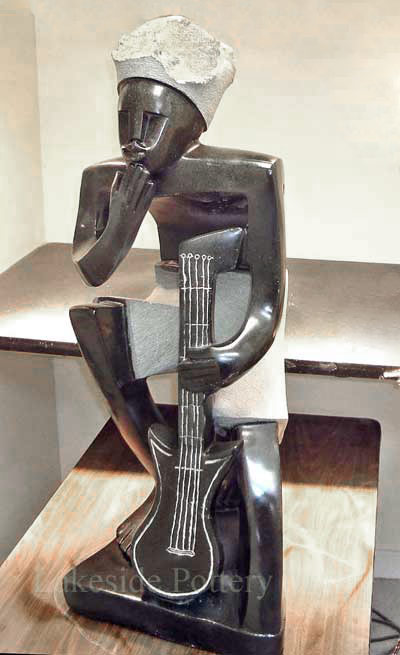 Large rock sculpture repaired |

How To Repair Broken Animal Figurines,
Source: https://www.lakesidepottery.com/Pages/Pottery-tips/How-to-repair-broken-stone-sculpture-or-statue.html
Posted by: kinmanbobbled.blogspot.com
0 Response to "How To Repair Broken Animal Figurines"
Post a Comment